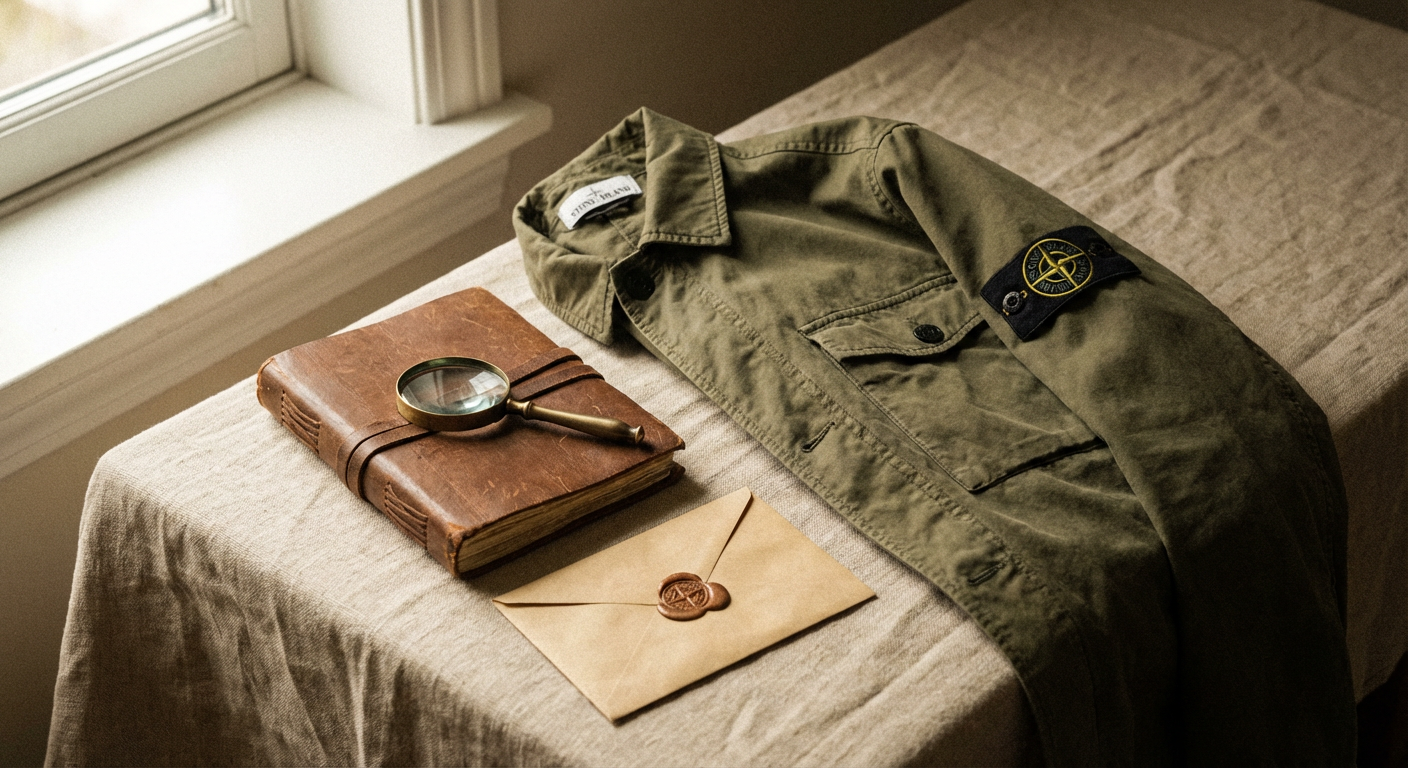
stone island
3 minute read
How to Spot a Fake Stone Island Compass Badge
Words by Heather June Coombs
The Stone Island badge is both a symbol and a target.
The Stone Island badge is both a symbol and a target. It’s a calling card for those who know, and a prime piece of real estate for counterfeiters. Anyone buying pre-owned Stone Island needs to know the difference between legitimate and fake. Get this wrong, and you've bought a very expensive patch of woven polyester, not a piece of archive design.
The Stitching: Look Alive
Genuine Stone Island badges feature tight, uniform stitching. The threads are dense, especially around the compass points and the buttonholes. Fakes often opt for thinner, looser threads. The colours on a real badge—the yellow, green, and the black outline—are distinct and vibrant. They don’t bleed into each other, even after years of wear and washes.
Run your finger over the embroidery. On a real badge, it should feel raised and tactile. Counterfeits often have flatter, less defined embroidery. Inspect the compass rose itself. The small circle in the centre should be clearly defined. On fakes, this detail is often blurry or even absent.
The Fabric: A Foundation of Quality
Original badges are made from a specific blend of viscose and polyester. It gives them a slightly stiff, yet smooth, feel. It holds its shape. Fakes often use cheaper, flimsier materials that fray easily or feel too thin. Hold it up to the light; a genuine badge has a slight sheen, not a cheap gloss.
The reverse side of the badge is also crucial. Authentic badges have a neat, almost mirrored reflection of the front embroidery. All loose threads should be trimmed. Counterfeit badges often show messy backing, with unclipped threads and a general lack of finishing. This is where corners are cut, and it shows.
The Buttons: Form and Function
Stone Island buttons are always black, with four holes, and slightly domed. They are securely attached to the garment itself, not the badge. The badge attaches to the garment via two buttonholes on its reverse. On fakes, these buttonholes are often poorly finished, sometimes even misaligned.
Shop from this article


Examine the buttons for branding. Early badges had plain black buttons. Modern badges, from the late 90s onwards, typically feature the Stone Island logo subtly debossed around the edge of the button. No branding means not necessarily fake, but branded buttons should be correct. If the garment has plain buttons but should have branded ones, be suspicious.
The Text: Clarity and Consistency
The 'STONE ISLAND' text on the badge is embroidered with precision. Each letter is sharp and distinct. The spacing between the letters is consistent. On counterfeit badges, the text can be uneven, misshapen, or too thick. The "Made In Italy" text, if present, should also be clear.
Pay attention to the font itself. While there have been minor variations over decades, the core characteristics of the Stone Island logotype remain consistent. Fakes often use slightly off fonts, incorrect letter proportions, or simply sloppy embroidery that distorts the text.
Where It Sits: Placement Matters
The most common placement for the badge is on the left arm, secured by two buttons. On trousers, it’s usually on the left cargo pocket. While designers play with placement on some experimental pieces, the standard location is always consistent. If a badge is sewn directly onto the garment without buttonholes, it’s a red flag. Only a few specific archive pieces had sewn-on badges, and these are rare.
The orientation of the badge should also be correct. The compass should point upwards, with the 'STONE ISLAND' text readable from left to right. It sounds obvious, but poorly applied fakes can get even this wrong.
Authenticating a Stone Island badge is an exercise in detail. The quality of the stitching, the feel of the fabric, the precision of the buttons, and the clarity of the text all tell a story. Know these tells, and you’ll know your way around a fake.